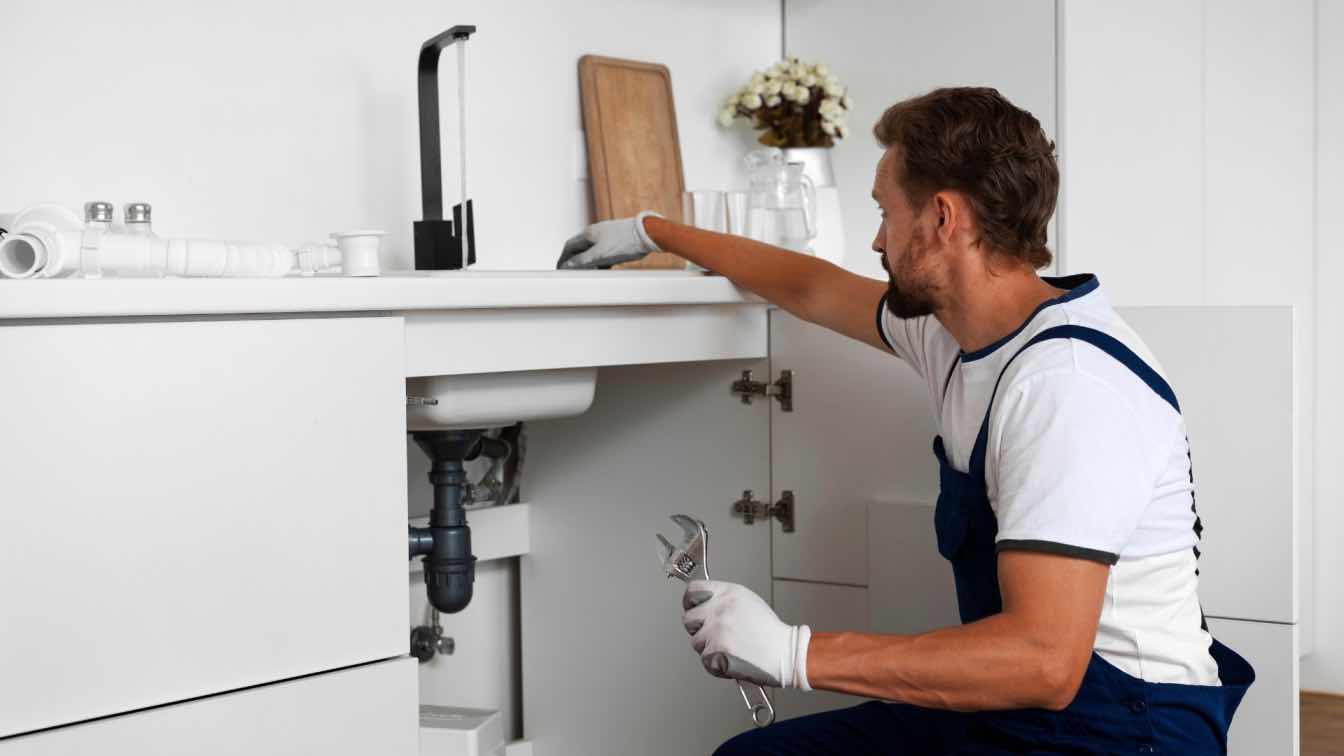
Oh no, you've discovered water pooling under your sink again! That annoying drip-drip coming from the cabinet below has you wondering if it's worth calling Sunset Plumbing to fix this pesky leak. But before you pick up the phone, know that many common sink leaks can be repaired with some DIY expertise.
This guide will walk you through finding and fixing leaks on your own, potentially saving you money on a plumber. Ready to break out your wrench and put those YouTube tutorials to use? Time to go over some key preparation steps.
Preparation & Safety
When tackling a leaky sink, having the right gear and taking precautions upfront will make the process smoother. Here are a few tips.
Turn off the water supply valves under the sink so you don't get soaked when disassembling pipes. You may also need to shut off the main water supply to your home if you'll be replacing supply lines.
Spread some towels or cardboard on the floor to catch spills and drips. Have a bucket handy too. Gather supplies like an adjustable wrench, screwdriver, pliers, pipe sealant tape, replacement washers, and putty. Put on gloves and safety goggles if you're handling harsh cleaners or sealants.
Now you're ready to play plumber! Time to move on to detecting exactly where those pesky leaks are coming from.
Detecting & Diagnosing Leaks
To properly fix the leak, you first need to pinpoint its location. Sinks tend to leak from a few key areas:
Based on Location
The faucet: Water may drip from around the faucet base or handle when turned on. This indicates worn washers or O-rings.
The drain seal: Water seeping along the edges between the sink basin and drain flange means the putty seal is compromised.
The pipes: Wetness in the cabinet without obvious drips means water is running down pipes. Look for corrosion on joints.
The basin: Water pooling under the actual sink bowl indicates a leak between the basin and drain system.
Based on Visual Cues
In addition to inspecting these key areas, look for telltale signs of leaks like:
Dripping water in the cabinet, even when the faucet is off. Rust stains or mineral deposits on pipes. Slow-draining water; clogged drains. Soft drywall, peeling paint or mold around sinks. And an unusually high water bill.
Leaks cause water damage which can lead to health hazards such as mold. Detecting leaks quickly will mitigate the damage caused by water. Got a good sense of where the water is coming from? Now move on to the fun part...fixing it!
Fixing Different Types of Leaks
Think of sink leaks as coming in four varieties - faucet failures, drain disasters, pipe problems, and basin blunders. Here's now to remedy each one.
Faucet Leaks
Start with the most obvious type - drips coming straight from the faucet spout. This typically means worn-out internal parts like O-rings or valve seats that need replacing. Here's how to fix it:
Step 1: Turn off the water supply. Start by shutting off the valves underneath or unscrewing the flexible supply lines.
Step 2: Disassemble the faucet. Remove any decorative handles and unscrew the faucet top. This gives you access to the inner workings.
Step 3: Replace worn parts. Look for cracked, loose, or dirty O-rings, washers, seats, or cartridges. Swap new ones as needed.
Step 4: Reassemble. Put all the faucet components back together in reverse order. Be sure parts are aligned correctly before tightening.
Step 5: Restore water; test for leaks. Turn the water back on and check for any remaining drips. Further disassembly may be needed if leaks persist. Be sure to give a professional a call if you get stuck!
Got your faucet working like new? Then move on to some drain disasters.
Drain Seal Leaks
If you notice water dripping from around the drain instead of the faucet, you likely have a compromised drain seal. The putty between the sink bowl and drain flange keeps water flowing down the pipes, not onto your cabinets! To fix, you'll need to:
Step 1: Clean away old putty. Use a putty knife to scrape off any remaining bits from the bottom of the drain.
Step 2: Apply fresh plumber's putty. Roll putty into a snake, place it around the drain bottom and seat into place.
Step 3: Check alignment and tighten. Once a tight seal is formed, check alignment and hand tighten the drain flange. Don't overtighten!
Step 4: Wipe away excess putty. Run a wet rag around the drain to clean up squeezed-out putty for a tidy finish.
Be sure to give the seal adequate time to fully set before running water. And if water still seeps out, don't hesitate to call the pros!
Speaking of pros...is your head already spinning from these repairs? Grab a snack and take a breather before this next section. Now you’re moving on to one of the trickiest problems - pesky pipe leaks!
Pipe Leaks
If you can't find any apparent drips inside the cabinet but see external water damage, you likely have leaks along the hot and cold supply lines or drain pipes. The key steps here include:
Step 1: Wipe pipes thoroughly dry. Use rags or paper towels to soak up standing water so you can identify the leak source.
Step 2: Tighten slip joints. Many leaks come from loose slip nuts on pipe joints. Carefully tighten these with an adjustable wrench.
Step 3: Check connections with sealant. If tightening the drain or supply connectors doesn't help, try applying sealant tape or epoxy putty to the threads before reconnecting.
Step 4: Replace cracked section. Sometimes if the actual pipe is cracked, that section needs to be cut out and replaced. Use a mini tube cutter for clean cuts.
Getting overwhelmed? At this point, consider calling in a pro! They have all the speciality tools and materials to properly assess and fix worn pipes.
You’re in the home stretch now! Just one more tricky sink leak to cover - the basin.
Basin Leaks
While not as common, leaks between the sink bowl itself and the adjoining drain indicate a basin-drain seal failure. To fix this:
Step 1: Clean the drain and sink bottom. Use abrasives to rough up the surfaces so fresh sealant adheres better.
Step 2: Apply plumber's putty or caulk. Circle the bottom of the drain hole, place into position, and seal it to the sink.
Step 3: Tighten from below. Replace and hand-tighten the retaining nut from underneath the sink to secure everything.
Step 4: Smooth away excess putty. For a clean finish, wipe away any putty squeezed out along the sink rim.
And voila - that pesky basin leak is all fixed up! Time to celebrate with a tall glass of water...and then start tackling preventative steps.
Preventing Future Leaks
They say an ounce of prevention is worth a pound of cure. That definitely goes for sink leaks too! Here are some DIY-friendly tips to help avoid issues down the road:
Conduct regular inspections under your sink every 1-2 months. Look for early signs like moisture, mineral deposits on pipes, or slow drains.
Replace any washers, O-rings, slip nuts, or fittings that are visibly worn down or corroded. Don't wait for them to fail.
Use quality epoxy or silicone-based putty for proper caulking rather than cheap hardware store varieties. The investment is worth it!
Consider having a professional plumber do an annual plumbing inspection. Their trained eyes can spot problems you might miss.
Implementing these simple habits will have you fixing fewer leaks over time - and calling professionals less often for repairs! But...if you do need their expertise, keep reading for a few pointers on when professional help is warranted.
When to Call a Plumber
While handy homeowners can tackle many basic sink leaks themselves, there are a few cases better left to the true professionals:
If the leak requires extensive disassembly or complex parts replacement, consider letting an expert handle it. You may inadvertently worsen issues or break components if you force something.
If the leak location is hard to access - say behind walls or under slab foundations - Go ahead and dial up a professional plumber. Specialized tools and cameras to scope out leaks can better pinpoint tricky sources.
If you simply lack the time or confidence for DIY repairs, don't risk it! The cost of a plumbing service call is nothing compared to the expense of water damage restoration if repairs fail.
The bottom line? If your first attempts to fix pesky leaks don't improve the situation, pick up the phone and call professional services. Their team of experts has seen it all and can quickly diagnose issues and implement solutions.
The Summary
Whether it's an annoying faucet drip or a stealthy pipe leak causing soggy cabinets, addressing sink leaks promptly is key to preventing bigger problems down the road. As you've learned, many basic sink leaks can be fixed with some DIY know-how - and a little patience!
Arm yourself with the right tools, take appropriate safety precautions, thoroughly diagnose the leak source, and follow the step-by-step guides outlined here. You'll have that pesky drip sealed up in no time.
Just remember your limits too. Complex repairs involving extensive disassembly or unseen leaks behind walls may require calling in the pros at Sunset Plumbing. Their years of plumbing expertise can quickly pinpoint and fix nuisance leaks.
But hopefully after reading this guide, your newfound confidence has you ready to grab a wrench and stop many leaks yourself. So next time your sink starts dripping, roll up your sleeves rather than reach for your phone. Let the DIY fun begin!